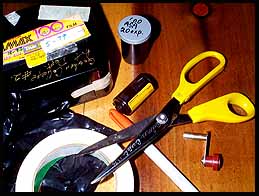
- Reusable film cassette
- Plastic film storage box
- Scissors
- Bulk loader with film desired
- Tape
- Bulk loader crank
- Felt tip for labeling
- Black plastic
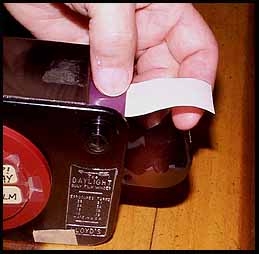
- Step 1
- You do not need to be in the dark - dim the light.
- Burnish a piece of tape, sticky side up, to the bottom surface of the film protruding from the bulk loader.
- Be careful not to pull extra film out. It is ruined by light.
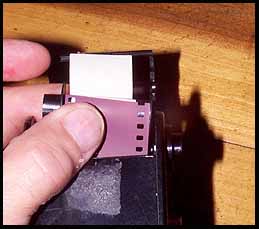
- Step 2
- Wrap the tape around the spool
- The long end of spool must be to left when film is pointing away from you as shown here.

- Step 3
- After bringing the tape around the spool, burnish the other end of the tape to the top of the film.
- Do this without pulling film out of the bulk loader.

- Step 4
- Assemble the cassette over the spool.
- Be sure the flat area is up.
- Check the end caps carefully to be sure they are secure.
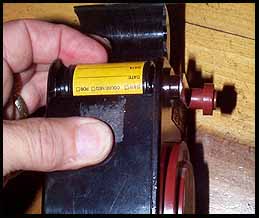
- Step 5
- Push the cassette toward the bulk loader until the crank can enter the hole on the right
- The crank must be all the way in.
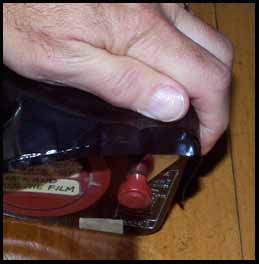
- Step 6
- Close the small door on the bulk loader (on a new bulk loader the door has to be closed before the crank enters).
- Cover the crack at the top with opaque black plastic.
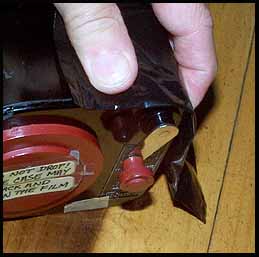
- Step 7
- Turn the crank in a clockwise direction.
- Count the turns following the chart on the bulk loader (21 revolutions makes 20 exposures).
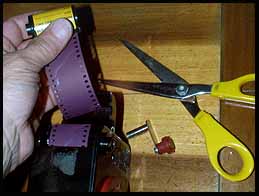
- Step 8
- Take out the crank
- Open the door
- Pull 4 inches out of bulk loader
- Cut film near bulk loader
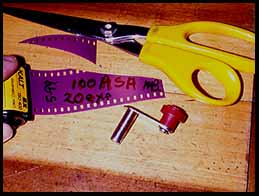
- Step 9
- Trim and label the leader.
- Put it in the camera or in a light tight film box.
- Put everything in its proper place for next time.
- The above photos were produced with a Kodak Digital 120 camera.
© Marvin Bartel, 1998
- Important - If the bulk loader runs out of film, place a note on
the instructor's door, or otherwise notify immediately.